
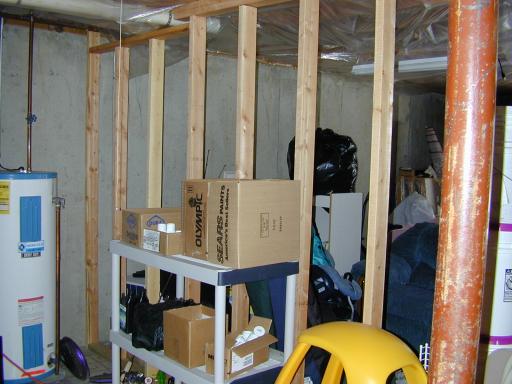
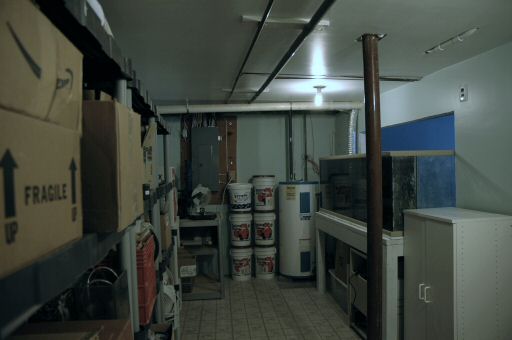
Location for Tank Stand, December 9th, 2003
This is behind the pre-existing 2x4 stud wall where I expect to construct a stand to hold the tank. I do not plan on reusing my tank stand as I want the tank higher than the height of the stand. This will allow me to use the wall space on the other side in case I want to place a couch against the wall or perhaps put chair-rail around the room. The steal post can not be moved. However I may be able to hide it inside a closet area. I do not plan on moving the water heater yet, but I have a place for it on the other side of this small room when it gets replaced sometime in the future. |
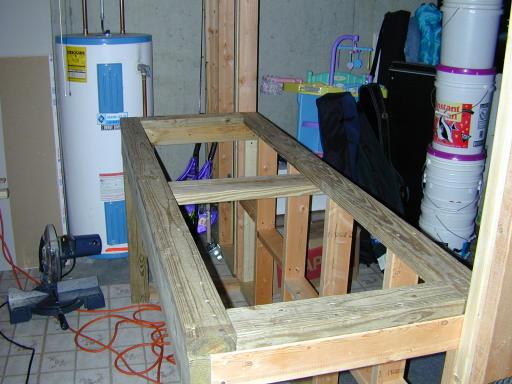
Tank Stand Completed, December 17th, 2003
The picture to the left shows the tank stand frame completed. It is made from 4x4 pressure treated lumber for vertical rear support posts. The 4x4's are linked to the front with double 2x4's using a "dead man" support straight to the floor. In the back the 4x4 posts are notched to accept double 2x6's which span 6 feet for an unobstructed work area where the sump and return pump will be placed. The stand is capped with 2x4's. A sheet of styrofoam will be used between this tank stand and the tank itself. This stand is solid. It takes significant effort to even get a slight wiggle out of it. It is perfectly level in all directions and all verticals are perfectly plumb. The width front to back of the stand is a few inches deeper than the tank itself to provide a small lip or rim around the tank stand. |
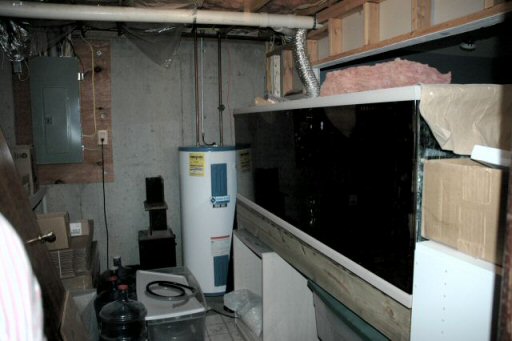
Tank Room, January 29th, 2005
There is a bit of a time gap between this and the last image. That time gap was the construction of the reef viewing room. This shows the reef tank room before the walls and ceiling were sheet rocked. Insulation was used in the walls for noise reduction. I'll paint the cement walls with masonry paint to brighten things up a little. |
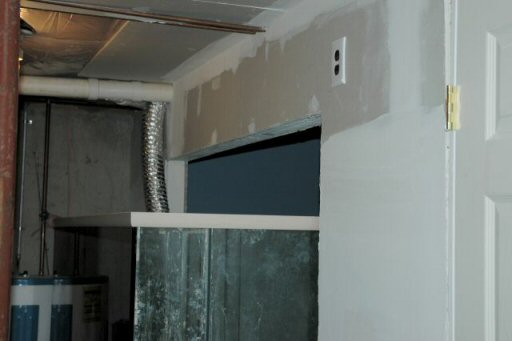
Tank Room Sheet Rocked, February 15th, 2005
The walls have been sheet rocked, taped and several layers of compound have been applied. Cement board was used to the side and bottom of the tank. The cement board has had 3 layers of compound applied to provide a smooth surface. |
Tank Room Completed, March 20th, 2005
This image to the left shows the tank room construction completed. The walls and ceiling have been primed and painted. The tank room is spacious enough for easy tank work. The tank stand has been primed and painted to help seal the wood. |
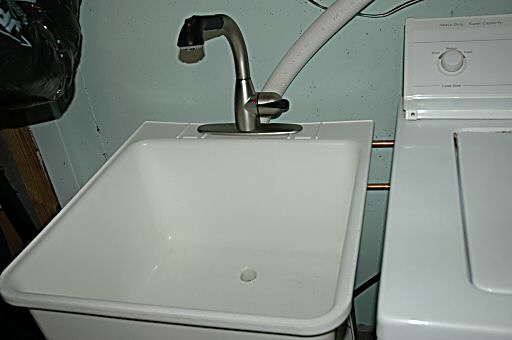
Deep utility sink and goose neck spray head faucet, October 2005
A deep utility sink was added to the tank room in October 2005. The sink is deep and wide enough to hold several 5 gallon salt buckets or 5 gallon water jugs. Hot and cold water are available. The tall goose neck faucet allows for additional height. The faucet head is a removable spray head to allow easy cleaning deep inside skimmer parts. |
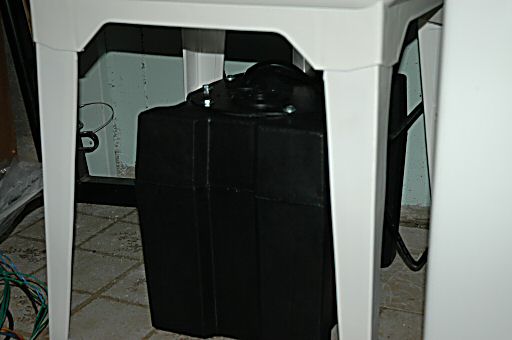
Utility Sink Sump & Pump Kit, October 2005
The utility sink drains is below the house drain line which required the installation of this black 10 gallon sump system. The sump has a ¼ horse power pump with float switch and check valve. The pump is able to empty the 10 gallon sump in about 3 seconds. In the utility sink picture above, the 1.5 inch flex PVC pipe is the output of this sump going up to the drain line the washer machine uses. |