
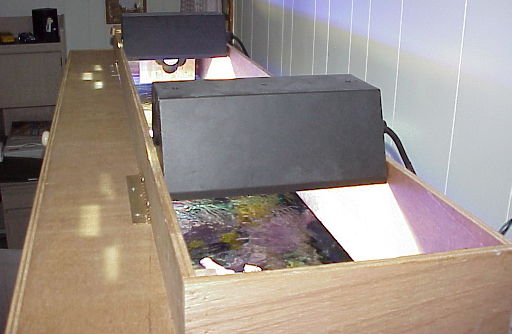
Top of Temporary Lighting Hood
Picture taken July 1999, Sony Mavica FD91 digital camera, full flash Pictured left is the top view of the temporary hood I constructed with left over wood laying around the house. I plan on using this hood until I can save up for some solid oak boards and built a real nice hood. This hood took less than a day to build. This is an open top hood as to not trap heat from the DMI Pendants with Iwasaki 6500k Metal Halides within the hood. An open top structure like this also allows for quick access into the tank during feeding time or adding kalkwasser. At the far end of the hood you can see a 101 CFM fan that I use to vent the air in the hood. Even with an open top I had high temperature problems before I added this fan. |
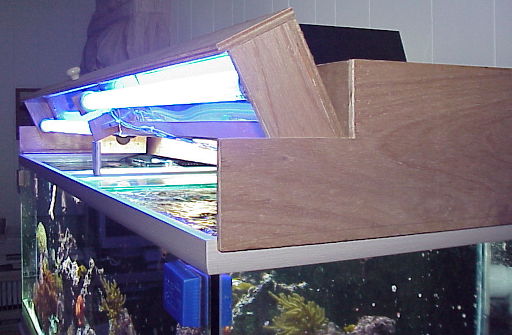
Temporary Lighting Hood with Open Front
Picture taken July 1999, Sony Mavica FD91 digital camera, full flash Here you can see how the front opens up for quick access to the water surface. You can also see the actininc lighting which allows for easy bulb cleaning. The opening is large enough to put most of my arm into the tank without touching the VHO lights. The bulbs can be changed without needing to take the hood down. Since this picture was taken I upgraded the VHO lighting to use two 160 watt (6 foot) tubes instead of the dual 96w (3 foot) tubes shows in the picture. |
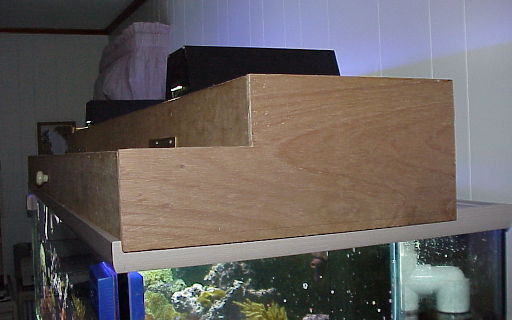
Temporary Lighting Hood
Picture taken July 1999, Sony Mavica FD91 digital camera, full flash As this hood was temporary I did not use any sealer on this wood to protect it from the salt water. It's been over two years since I built this hood and considering its not protected it has held up very well. In the final hood design I expect to have swing out doors on the side to allow easy access to clean the glass on the sides of the tank. I also expect it to be taller and wider. |